Many years ago, I was reading a blog post by a blogger I’d been following for a while. She wrote about a recent struggle with depression and her honest words made such an impact on me. I remember thinking how brave it was for her to tell her story. While I hated that she was going through it, I also recall feeling comfort in her words because it was another reminder that even those we admire and put on a pedestal are human. I was just like…Wow, it must’ve taken so much for her to share that. At the time, I was early on in my blogging journey, and I told myself that I would always try to share my struggles, just like she did.
Last week, I gave a speech at the University of Guelph at their Awards of Excellence Gala (you can see some photos in my saved story on Instagram!). In my speech, I shared how I’ve struggled with my mental health, like anxiety, since I was very young and how it’s felt debilitating at certain points in my life. I spoke about how various personal challenges have coincided with a career that’s made me face them head on. The day before the event, I almost decided to scrap my speech and write something that was easier to talk about, but I said screw it and decided to share it. It was my story! Allowing myself to feel shame surrounding my story only gives it power.
After my speech, a man with a warm smile came up to me, crouched down next to my chair, and thanked me for my speech. He talked about a time in his life when he struggled with his mental health, and we both had tears in our eyes by the end of our conversation. Another man came up later to tell me about his young relative’s struggles. This night was yet another reminder of the power of vulnerability and it left such an impact on me!
It’s been a bit of a strange year for me (one that I can’t believe we’re already half-way through!). I went through an emotional time for the first few months of the year and found myself in a mild depression. I lost joy and passion for so many things. At certain points, I couldn’t even bring myself to get back to messages from friends and family. It makes me emotional just writing about it now because the difficult emotions of that time come back so easily. After suffering in silence for 2 to 3 months, I finally opened up to my friends and family about it and got help. I’ve been in a much better place since the spring. I wanted to be honest about it and to let you know what was going on at the time, but I didn’t feel strong enough to talk about it when I was in the thick of it.
There’s also been another reason for my absence and this is something that’s much easier to tell you about! I have a third cookbook in the works and I’ve been working on it for about a year and a half now! Okay, okay, I did let this news “slip” in the blog comments a couple times and also in my Instagram DM’s, too, so you may already know. ;) I’ve held off announcing it here because during certain periods, well, I wasn’t even sure if it was going to come to life. When I fell into my depression at the beginning of the year, I lost passion for almost everything. Creativity and motivation aren’t things that can be forced so I just went with the flow and tried to trust that I’d feel myself again.
After working through some things and starting to feel better, it was as if a lightbulb flicked on in my head. I came to life. I was suddenly thrilled at the prospect of creating again. I could not get to work fast enough. And since late winter, I picked up where I left off before January and dove into the work that I love so much. Shortly after, Eric, Nicole, and I started working with our recipe testing group (about 40 incredible testers strong!), and things have been going better than I could’ve imagined. The recipes are so delicious…my testers are telling me it’s my best collection of recipes to date. I’m so proud of it and I’m nearly finished, only about 1 month away from handing in my manuscript. Once my manuscript is in, I’m going to be diving into the food photography, which I’ll be shooting for this 3rd book. I’m a bit nervous at the prospect of shooting 100 photos in 2 months time, but I’ll get there, one day at a time! It will be fun to shift from recipe creation and writing to something so artistic like photography.
The cookbook is going to focus on something you all have been asking for more and more of over the years, and that’s more dinner and lunch recipes! It’s mostly going to focus on savory recipes, with a dessert chapter, of course (how could I not include a dessert chapter?). It’s going to feature food you’ll want to make for weeknight dinners, weekend meals, portable work/school lunches, and special holidays and occasions. Gah. There are so many gems. It’s slated to be out fall 2020, so not too long to wait (at least in the publishing world, this feels SO soon)!! If there’s anything you’d love to see in the book, please leave a comment below and let me know!!
Thanks for listening and for your support through the ups and downs of life. I’m so grateful you’re here as I’ve felt like a big ‘ol failure on the blogging front this year. It’s time to shake the guilt and move onward and upward. And if you’re reading this and struggling too, I’m sending you all the love in the world and hope you can find a support system!
This is my first ever vegan ice cream recipe on the blog (can you believe it?!), and oh dear me, it’s one we can’t stop eating. I’ve been in a bit of a vegan ice cream bender since I bought this Cuisinart ice cream machine in the spring. It’s so much easier to use than I thought! Almost too easy.
Happy Canada Day long weekend to my Canadian Friends! And an early happy 4th of July to my American friends! Have a safe, happy, and delicious weekend, everyone.


|
4.6 from 16 reviews |
|
|
|
|
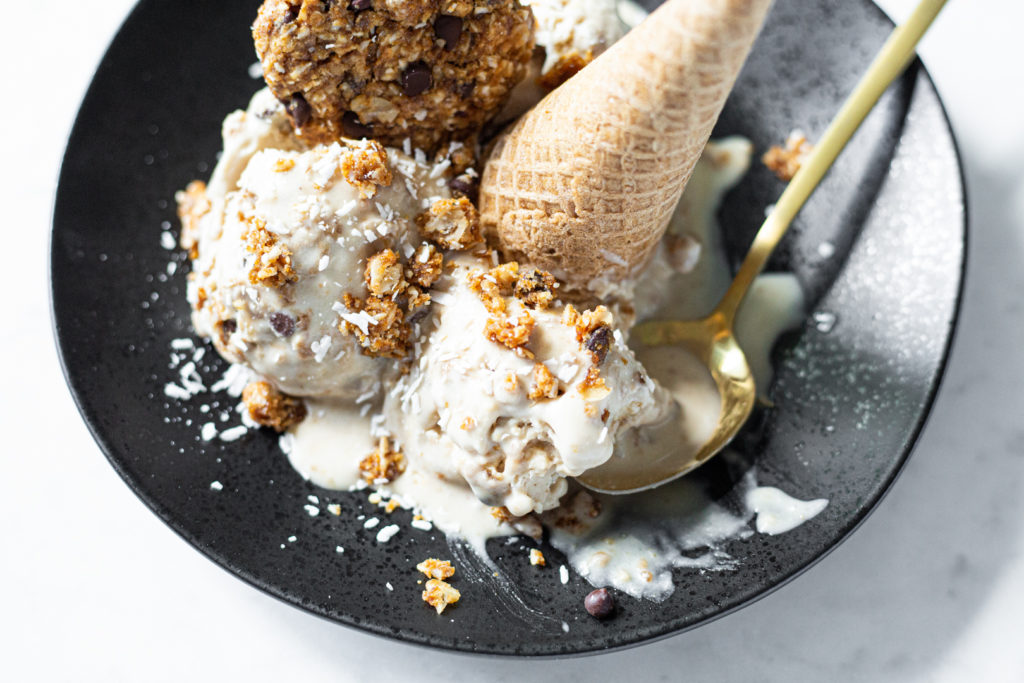
Obsession-Worthy Peanut Butter Cookie Ice Cream
This is my favourite kind of summer indulgence! My reader-favourite Flourless Peanut Butter Cookies meet my dreamy homemade peanut butter and coconut milk ice cream in this cooling summer treat. Chewy coconut, snappy chocolate chips, and tender bites of soft peanut butter cookies blend perfectly with a creamy vanilla and peanut butter vegan ice cream. If I’d known how simple it was to make my own vegan ice cream (only 5 ingredients!), I would’ve invested in an ice cream machine long ago. Well, I’m making up for lost time now! The peanut butter ice cream is inspired by Cookie + Kate.
Yield
8 (1/2-cup) servings
Prep time
10 Minutes
Cook time
12 Minutes
Chill time
overnight (ice cream bowl) + 30 minutes
Total time
22 Minutes
Ingredients:
- 1 batch Flourless Peanut Butter Cookies, divided
- 2 (14-ounce/398 mL) cans full-fat coconut milk*
- 1/2 cup (105 g) natural cane sugar
- 3 tablespoons (45 mL) smooth natural peanut butter
- 2 teaspoons (10 mL) pure vanilla extract
- 1/4 + 1/8 teaspoon fine sea salt, or to taste
Directions:
- Chill the ice cream bowl in the freezer overnight, or for at least 12 hours. This step is very important to ensure the ice cream thickens properly.
- Prepare the Flourless Peanut Butter Cookies. After baking, cool the cookies for 10 to 15 minutes, then transfer each one to a plate. Place in the freezer on a flat surface for a minimum of 25 minutes. As soon as you transfer the cookies to the freezer, get started on the ice cream.
- Add the ice cream ingredients (entire cans of coconut milk, sugar, peanut butter, vanilla, and salt) to a blender and blend for about 8 to 10 seconds, until smooth (be sure not to blend longer than 10 seconds, as it may effect the final texture of your ice cream).
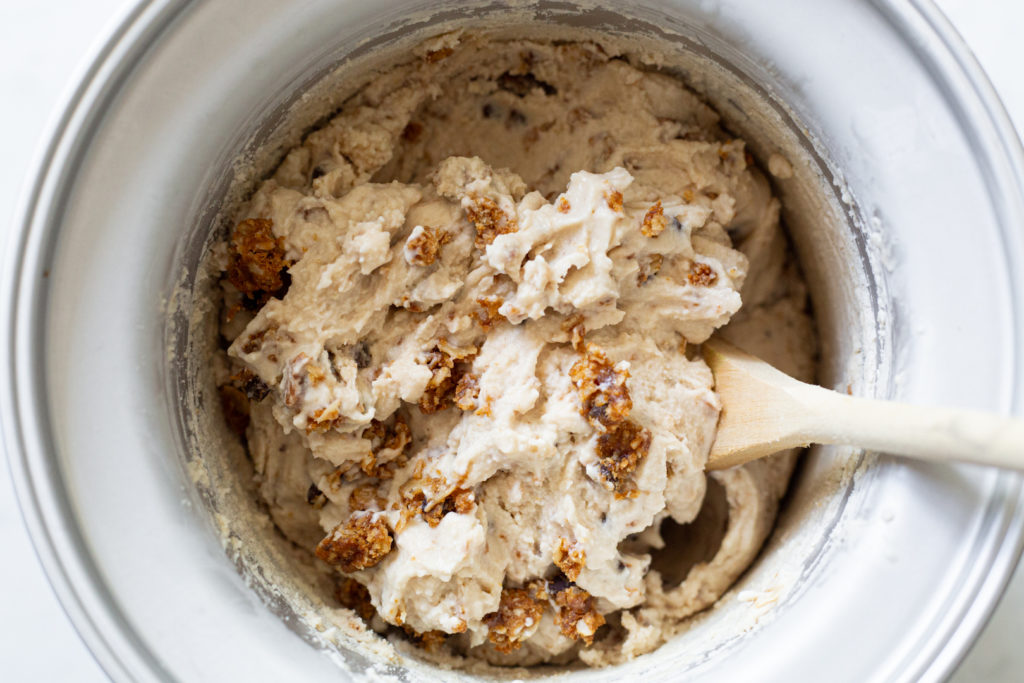
- Place the frozen ice cream bowl into the ice cream maker, insert the churning arm, cover with the lid, and turn on the machine (if the instructions for your ice cream maker are different, please follow the directions that came with your machine). Slowly pour the mixture into the bowl as it churns. Churn for about 22 minutes, until the mixture has thickened into a very thin, soft-serve texture.
- Once the cookies have been in the freezer for 25 minutes, chop 6 of the cookies into small, almond-sized chunks. Reserve the remaining 7 cookies, at room temperature, for later.
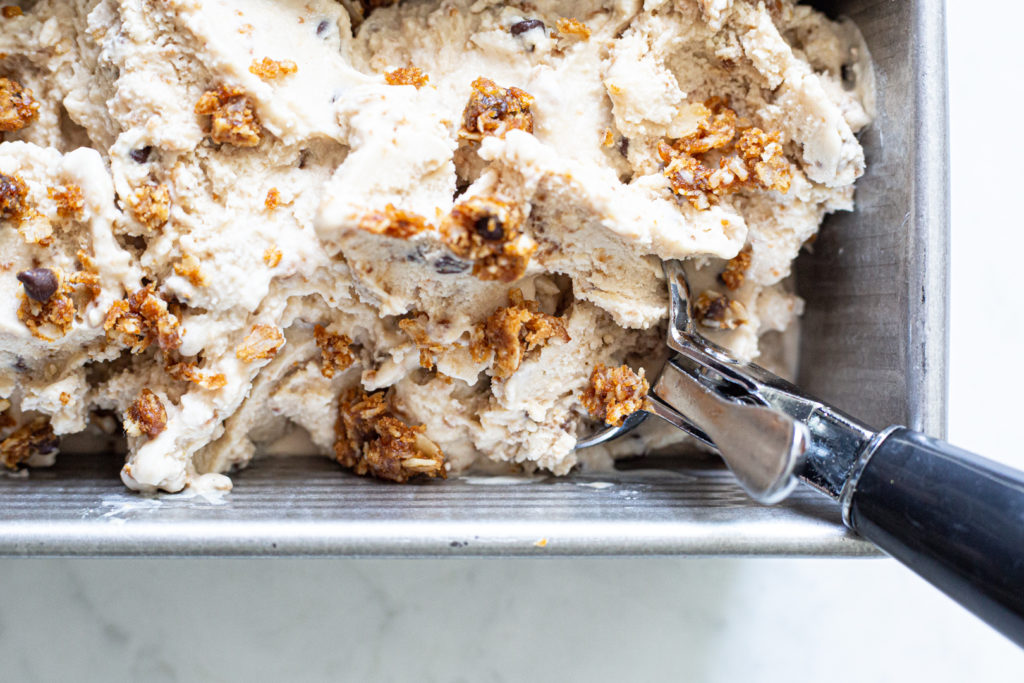
- After 22 minutes of churning, slowly add the chopped cookies, a handful at a time, to the mixture while the machine is still churning. I like to use a fork to gently push the chopped cookies into the ice cream and help it along. Churn another 5 to 8 minutes, until the ice cream has thickened a bit more. It will have a thick, soft-serve texture when ready. There will be some hardened ice cream along the inside of the bowl...I like to think of this as the chef’s extra helping (wink, wink)! Serve immediately, or for a firmer texture, transfer the ice cream to a loaf pan or airtight container and spread out smooth. At this stage, I like to crumble an extra cookie all over the top (and gently push it into the ice cream) to make it look extra-enticing, but this is optional. Cover and freeze for 2 hours for a more traditional ice cream firmness.
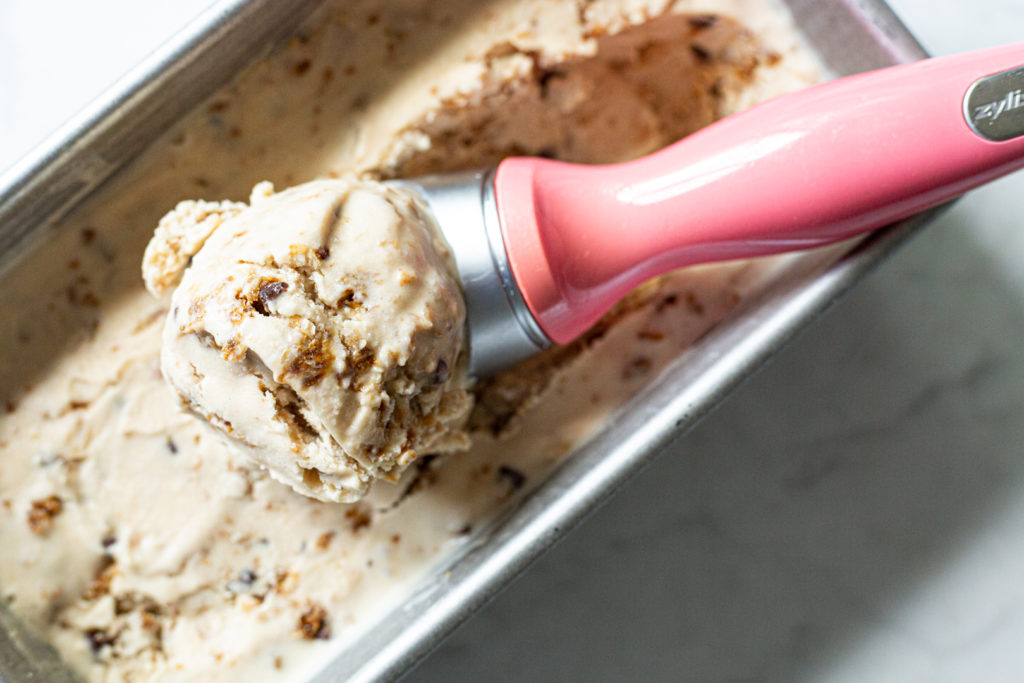
- To serve, scoop into bowls or ice cream cones. Or, if you're feeling wild, make ice cream sandwiches with the leftover cookies...oh yea!!
- Storage tip: Leftovers can be stored in an airtight container in the freezer for 3 to 4 weeks. Be sure to cover the ice cream with a piece of wrap to prevent freezer burn. To soften, let the container rest on the counter for 20 to 30 minutes before scooping.
Tips:
* The cans of coconut milk do not need to be chilled beforehand.
Always follow the directions that come with your ice cream maker as there may be slight variations. My churning time is an estimate only; you may find you need more or less time with your machine! Watch closely during the last few minutes of churning. It it still looks too soft, feel free to let it churn a bit longer than the range I provide.
This is the ice cream maker that I use and love. Pro tip: This machine is a bit noisy once the mixture starts to thicken, so I like to keep the machine in a nearby room with the door closed while it churns (don't worry, my machine doesn't seem too offended and still makes great ice cream!).
No ice cream maker? No problem! The blended liquid can be poured into popsicle molds for creamy frozen popsicle treats. Simply add the blended liquid to each popsicle mold, leaving at least an inch of room at the top. Now, carefully add some cookie chunks to each, pushing them down slowly into the liquid. If needed, add a bit more liquid to completely fill each mold. Secure the tops and freeze until solid. Run the popsicles under hot water to loosen them from the molds.

Want to torture a person? Give them an ice cream cone on a hot day, and tell them they can’t eat it until you’ve snapped a good pic. bahaha.